Learn how to animate in roblox studio 2024 with this exhaustive professional walkthrough designed for creators of all skill levels. This guide explores the latest 2024 updates to the Roblox engine including enhanced Inverse Kinematics and the revamped Curve Editor for smoother character movements. We cover everything from the basic R15 rig setup to advanced scripting techniques that trigger your animations during gameplay. Whether you are building an action packed RPG or a simple social hangout understanding the nuances of keyframes easing styles and onion skinning is essential. Our detailed breakdown ensures you understand the why and how of every tool within the Animation Editor. Stay ahead of the curve in the Roblox developer community by mastering these industry standard techniques today. This informational resource is perfect for those looking to elevate their game design and create immersive high quality experiences for millions of players worldwide.
blog post random Most Asked Questions about how to animate in roblox studio 2024
How do I open the animation editor in Roblox Studio 2024?
To open the editor simply click on the Avatar tab at the top of Roblox Studio and select the Animation Editor icon. Then click on a rigged character in your workspace to begin. If you do not have a rig use the Rig Builder tool in the same tab to create one. It is that simple to start!
Why are my Roblox animations not playing in game?
This usually happens because of two reasons: either the animation ID is incorrect or the Animation Priority is set too low. Ensure you have published the animation to your own account or group and that you have set the priority to Action if it is meant to override walking or idling. Also check that your script is properly loading the animation onto the characters Humanoid.
What is the best rig for animating in 2024?
The R15 rig is widely considered the best choice for modern Roblox games because it features 15 distinct parts allowing for realistic joints like elbows and knees. This rig supports the latest engine features such as layered clothing and complex emotes which makes your animations look much more professional compared to the older R6 model. Most new developers should start here.
How can I make my Roblox animations look more realistic?
To achieve realism focus on using Easing Styles and the Curve Editor. Avoid linear motion by choosing Cubic or Quintic easing which mimics natural acceleration. Additionally use the Onion Skinning tool to track your motion arcs and ensure your characters have weight by slightly moving the torso and hips during every action. Small details in the waist make a huge difference in quality.
Can I animate objects other than characters in Roblox Studio?
Yes you can animate any model as long as it has been rigged with Motor6D joints. You can use a plugin like RigEdit to create these connections between parts. Once rigged the Animation Editor will recognize the model just like a character allowing you to animate doors vehicles or even complex machinery with the same tools you use for avatars.
Beginner Questions
What rig should I use?
Use R15 for almost everything. It is the modern standard and gives you the most flexibility with limb movement. R6 is only for very specific retro style games.
How do I save my work?
Click the three dots in the editor and choose Save to keep a local copy or Publish to Roblox to get an ID you can use in scripts. Do not forget to publish or it wont work in game!
Tips and Tricks
The Secret of the Hips
Always move the hips slightly when your character moves their arms or legs. In real life the body is connected and moving the torso adds a layer of realism that makes your work stand out. This simple trick fixes 90 percent of stiff looking animations.
Using Animation Events
Use the white bar at the top of the timeline to add events. This is perfect for syncing sound effects or particle emitters with specific frames like a footstep sound when a foot hits the ground. It adds huge immersion!
Bugs and Fixes
My character teleports back after animating!
This happens because animations are visual only and do not move the actual parts in the physics engine. To fix this you need to use a script to move the HumanoidRootPart to the final position after the animation ends or use Root Motion techniques. It is a common hurdle for new scripters!
The animation looks different in game than in the editor!
Check your Animation Priority. If it is set to Core or Idle other animations might be overlapping it. Setting it to Action usually solves this by giving your animation the highest importance in the engine. Always test in a live session to be sure.
Humanize summarize
Animating in Roblox Studio might seem like a giant mountain to climb when you first look at all those buttons and timelines. But honestly it is just like playing with digital action figures. You pose them you save the spot and you watch them come to life. The 2024 tools have made it so much smoother to get those cool professional looks without needing a degree in movie making. It is all about giving your characters a bit of weight and personality.
Remember that the best animators started exactly where you are right now probably struggling to get a rig to just stand still. The key is just to keep playing with the easing styles and the curve editor until things feel right to your eye. Whether you are making an epic fight scene or a silly dance for your friends the tools are there for you to shine. It is one of the most rewarding parts of game dev when you finally see your character move exactly how you imagined. You have totally got this and the community is always here to help you out if you get stuck!
The biggest takeaway is that animation is the soul of your game. It turns a static world into an interactive experience that players will remember. So go grab a rig start moving those joints and show the world what you can create. It is your time to build something amazing! 😊
Have you ever spent hours building a stunning world in Roblox only to feel like something was missing? You have the lighting perfect the terrain looks incredible but your characters just glide across the floor like stiff statues. I remember the first time I tried to make a simple sword swing and it looked more like a cardboard cutout falling over. But that is why we are here today. Many developers ask how do I animate in Roblox Studio 2024 to make my game feel alive? In this massive guide we are going to break down every click every keyframe and every script needed to turn those stiff rigs into fluid lifelike actors. The 2024 updates have brought some game changing tools that make professional grade animation accessible to everyone if you know where to look. We are going to dive deep into the heart of the engine and master the art of movement together.
The Foundation of Great Animation Getting Your Rig Ready
Before you can run you have to walk and before you can walk you need a rig that actually functions. In 2024 Roblox offers two main types of character rigs R6 and R15. While R6 is classic and simple for retro styles R15 is the gold standard for modern games because it has fifteen segments allowing for realistic elbows knees and waist movements. To get started you should use the Build Rig tool under the Avatar tab. Select a Block Rig for a standard look or a Man Rig for something more defined. Once your rig is on the workspace you are ready to open the Animation Editor. It is important to remember that your rig must be unanchored or the editor will not be able to move the parts. If you find your character is stuck in place double check the properties window to ensure the Anchored checkbox is empty. This is a common pitfall that trips up even experienced developers but now you know exactly how to fix it.
- Choose R15 for modern fluid motion and more articulation points.
- Always ensure your rig is unanchored before starting the editor.
- Use the Build Rig tool to ensure your joints are correctly named and connected.
- Check for any custom parts that might need a Motor6D connection to move with the rig.
Mastering the 2024 Animation Editor Interface
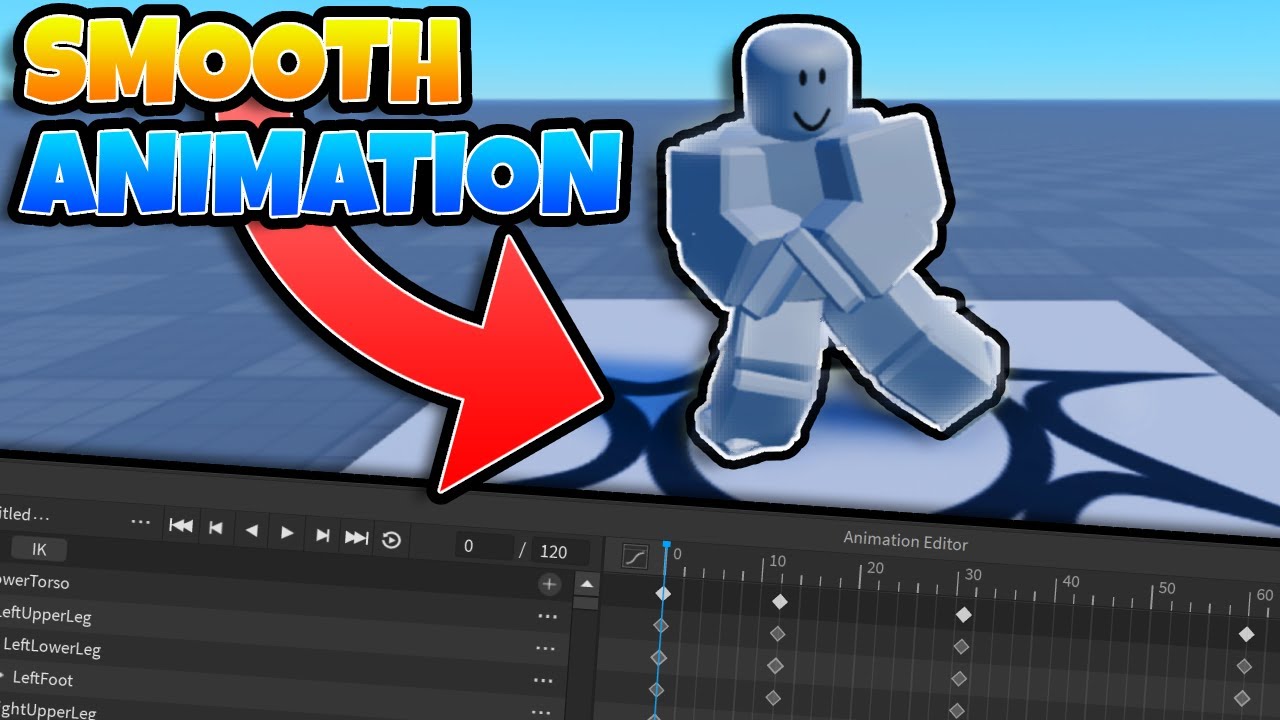
The Animation Editor in 2024 is more powerful than ever featuring a cleaner timeline and better tool integration. When you select your rig and open the editor you will see a timeline at the bottom of your screen. This is where the magic happens. You create animations by moving the rig at different points in time and the editor automatically fills in the movement between those points. One of the best features added recently is the enhanced Onion Skinning. This allows you to see a ghosting effect of previous and future frames which is a lifelike saver when trying to track the arc of a hand or a foot. If you want your movements to look natural you must avoid linear motion. Instead use Easing Styles like Cubic or Elastic to give your character weight and momentum. A punch should start fast and end with a slight snap whereas a gentle wave should have a soft start and end. These small details are what separate amateur animations from front page games.
The Power of the Curve Editor
For those who want total control the Curve Editor is your best friend in 2024. Instead of just placing keyframes and hoping for the best the Curve Editor allows you to manipulate the mathematical paths of each joint. You can drag tangents to create custom acceleration and deceleration that standard easing styles cannot achieve. If you are working on a cinematic sequence or a complex emote the Curve Editor provides the precision needed for professional results. It might look intimidating at first with all the lines and dots but think of it like a roller coaster track. You are designing the speed and height of every move to create maximum impact for the player.
Advanced Inverse Kinematics and Realistic Physics
One of the most significant updates this year is the improved Inverse Kinematics or IK system. In the past if you wanted to move a hand you had to rotate the shoulder then the elbow then the wrist. With IK you simply grab the hand and pull it to the target location and the rest of the arm follows naturally. This is a massive time saver for 2024 developers. You can enable IK by clicking the IK button in the editor and selecting the limb you want to control. This makes it incredibly easy to keep a characters feet planted on the ground or to make a hand reach for a specific door handle. When you combine IK with the new procedural animation features your characters will react to the environment in ways that were previously impossible without complex custom scripts.
Beginner / Core Concepts
1. **Q:** How do I start my first animation in Roblox Studio 2024? **A:** I get why this might seem scary at first but it is actually quite simple. Start by going to the Avatar tab and clicking Rig Builder to spawn a basic R15 block rig. Then open the Animation Editor from the same tab and click on your rig. Name your animation and you are ready to go. You just move the parts of the body using the move and rotate tools and the editor will save those positions as keyframes on the timeline. Just remember to hit the plus icon or move a part to set your first frame. You have got this!
2. **Q:** What is the difference between R6 and R15 rigs for animating? **A:** This one used to trip me up too when I was starting out. R6 rigs only have six parts which means no elbows or knees. They are great for a classic blocky feel. R15 rigs have fifteen parts allowing for much more realistic movement like bending arms and legs. In 2024 most developers prefer R15 because it supports modern features like layered clothing and more complex emotes. If you want high quality motion R15 is definitely the way to go. Try both and see which fits your game style better.
3. **Q:** Why is my rig not moving when I try to animate it? **A:** This is a classic headache for everyone. Most of the time it is because the rig is anchored. In Roblox Studio anchored parts cannot move so the animation editor gets stuck. Select all parts of your rig and make sure the Anchored property is unchecked. Also ensure your rig has a HumanoidRootPart and a Humanoid object inside it. If those are missing the editor wont recognize it as a character. Give it a quick check and you will be back to animating in no time!
4. **Q:** How do I save and publish my animations so they work in game? **A:** I remember being so confused the first time I tried to find my animation ID. Once you finish your masterpiece click the three dots in the editor and select Publish to Roblox. Fill out the title and description then hit submit. Roblox will give you a long ID number. You need to copy this ID and paste it into an Animation object inside your game scripts. Without that ID the game wont know which movement to play. Just keep that ID handy and you are golden!
Intermediate / Practical & Production
5. **Q:** What are easing styles and why should I use them? **A:** Think of easing styles as the personality of your movement. If you use the default linear style your character moves like a robot with a constant boring speed. By right clicking a keyframe and choosing Easing Style you can select options like Bounce Elastic or Cubic. This adds physics to your motion making things start slow and speed up or snap into place. It makes your game feel much more professional and polished. Experiment with different styles on a simple jump and you will see the difference immediately. It is a total game changer!
6. **Q:** How can I use Onion Skinning to improve my animation flow? **A:** Onion skinning is like having a superpower that lets you see through time. It displays a faint ghost of where your character was in the previous frame and where they will be in the next. This helps you ensure that the path of a limb is a smooth arc rather than a jagged mess. You can turn it on in the editor settings. I always use it for walking cycles to make sure the feet stay level. Give it a try on your next walk cycle and you will never go back to animating blind!
7. **Q:** What is the best way to animate a walk cycle in 2024? **A:** Making a walk look natural is all about the hips and the arms. A common mistake is just moving the legs. Instead try slightly rotating the torso and hips in the opposite direction of the leading leg. As the left leg goes forward the right arm should swing forward too. This creates a natural balance. Use the loop toggle in the editor to watch it repeat so you can spot any hitches in the timing. Keep tweaking those keyframes until it feels smooth and you will have a top tier walk in no time!
8. **Q:** How do I use the Curve Editor for more precise control? **A:** The Curve Editor is for when you want to get really fancy. Instead of just setting points you are actually editing the mathematical curves of the motion. It allows you to drag handles to change how fast an arm swings at every single millisecond. I usually switch to this when I am doing something high stakes like a combat move or a cinematic cutscene. It gives you a level of polish that standard keyframes just cant match. It takes a bit of practice but the results are worth it. You will be a pro in no time!
9. **Q:** Can I animate custom models that are not standard Roblox characters? **A:** Absolutely and this is where your creativity can really shine! You just need to make sure your custom model is rigged with Motor6D joints. You can use plugins like RigEdit Lite to connect the parts together. Once the joints are set the Animation Editor will treat it just like a regular character. I once animated a giant dragon using this method and it was awesome. Just take your time with the rigging and the rest is easy. Go create something unique!
10. **Q:** How do I prevent my animations from looking jittery or laggy? **A:** Jitter usually happens when you have too many keyframes bunched together or if your easing styles are fighting each other. Try to use as few keyframes as possible to define the motion and let the easing styles do the work of smoothing it out. Also make sure your animation priority is set correctly in the editor usually to Action for things like attacks. This ensures the animation isnt being overwritten by the default walk or idle. Smooth is fast and fast is smooth!
Advanced / Research & Frontier
11. **Q:** How do I implement Inverse Kinematics (IK) in the 2024 editor? **A:** IK is a massive time saver that lets you pose limbs by dragging the end point. Instead of rotating each joint individually you enable the IK button select the limb and the engine calculates the realistic bends for you. This is perfect for making sure a characters hand stays on a steering wheel or their feet stay flat on a slope. In the 2024 update the IK solver is much more stable. Use it to speed up your workflow significantly. It feels like magic once you get the hang of it!
12. **Q:** What is Animation Blending and how do I script it? **A:** Animation blending is what allows a character to transition smoothly between a walk and a run or a jump. In your scripts you can use the AdjustWeight function to fade one animation in while another fades out. This prevents that ugly snapping effect where a character instantly changes poses. In 2024 the Animator object handles most of this for you if you set the fade time parameters correctly. It makes your gameplay feel incredibly fluid. Take some time to learn the scripting side and your players will thank you!
13. **Q:** How can I use the new Procedural Animation features? **A:** Procedural animation uses code to modify your animations in real time based on the world. For example you can use it to make a characters head turn and look at a nearby player while they are still playing their idle animation. This is done by modifying the Transform property of the Motor6D joints during the Stepped event. It is a bit more advanced but it adds a layer of immersion that static animations just cant reach. Dive into the API docs and start experimenting with joint manipulation!
14. **Q:** How do I optimize animations for large servers with many players? **A:** Optimization is key if you dont want your game to lag. Always use the AnimationTrack:Play() method on the client side for the local player and let the server replicate it automatically. This reduces the load on the server. Also avoid using hundreds of high frequency keyframes for background NPCs. You can use lower priority animations or even simple tweening for distant objects. Keeping your animation data light ensures a smooth experience for everyone regardless of their device. You are doing great by thinking ahead about performance!
15. **Q:** What are the best practices for creating combat animations with hitboxes? **A:** For combat you want to use Animation Events. These are markers you place on the timeline that trigger specific code at a certain frame like the exact moment a sword swings forward. When the event fires you can spawn a hitbox or check for collisions. This ensures the damage perfectly matches the visual motion. In 2024 using the GetMarkerReachedSignal method is the cleanest way to handle this. It makes your combat feel fair and responsive. Keep practicing and your battle system will be legendary!
Quick Human-Friendly Cheat-Sheet for This Topic
- Always unanchor your rig before you start the editor or nothing will move.
- Use R15 rigs for better limb bending and more modern feature support.
- Master Easing Styles like Cubic and Elastic to avoid stiff robotic movements.
- The Curve Editor is your best friend for cinematic and high polish motion.
- Set Animation Priority to Action for attacks so they dont get interrupted.
- Use Inverse Kinematics (IK) to pose limbs quickly and keep feet planted.
- Always publish to Roblox to get the ID number needed for your game scripts.
Mastering the 2024 Animation Editor updates, Understanding R6 vs R15 rig mechanics, Professional use of the Curve Editor and Easing Styles, Advanced Inverse Kinematics for realistic movement, Scripting animations with the Animator object, Troubleshooting common export and loop bugs.
35



How To Animate In Roblox Studio Quick Guide YouTube . Animating Two Rigs In Roblox Studio A Simple Guide . Tutorial How To Make Animation In Roblox Studio YouTube . Animating Two Rigs In Roblox Studio A Simple Guide . How To Animate In ROBLOX STUDIO 2023 YouTube



Animating Two Rigs In Roblox Studio A Simple Guide 2 690x400 . How To Animate Models In Roblox Studio YouTube . How To Make Animation In Roblox Studio YouTube . How To Set Up Animations Tutorial Roblox Studio Animation Spoofer . How To Use Animation Editor Roblox Studio YouTube


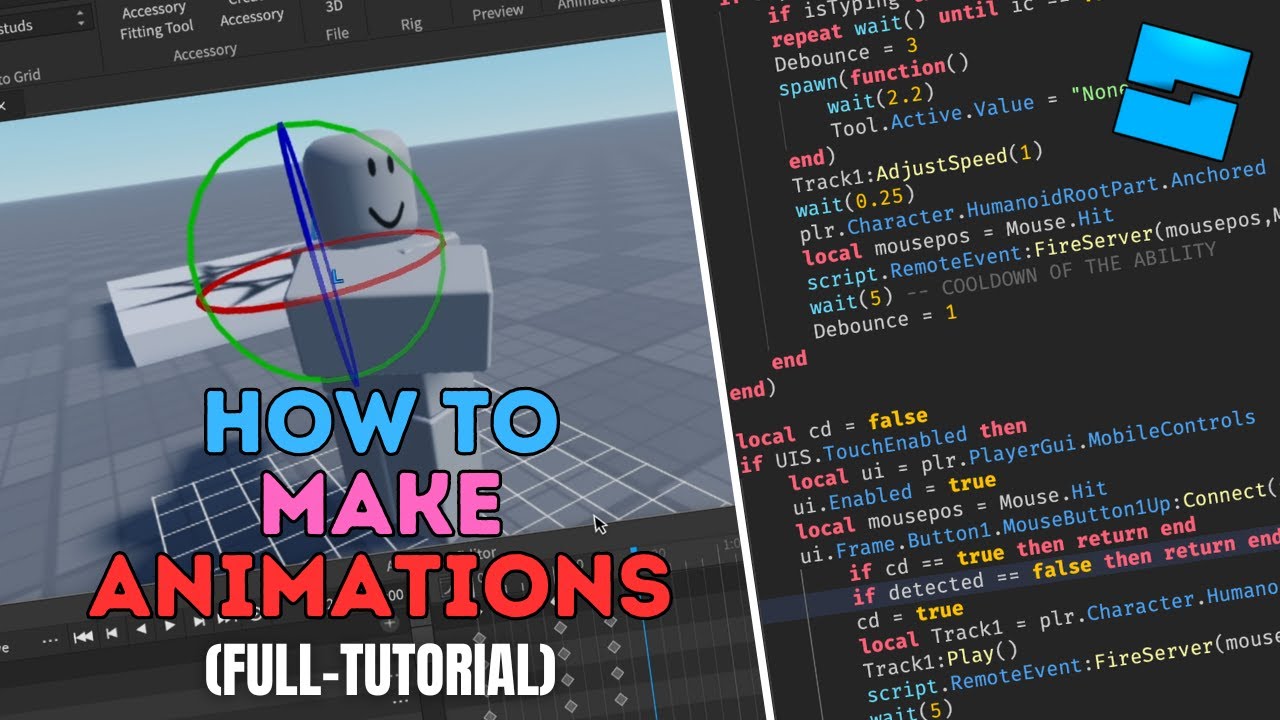

Animating Two Rigs In Roblox Studio A Simple Guide . How To ANIMATE In ROBLOX Studio EASY YouTube . Animating Two Rigs In Roblox Studio A Simple Guide . How To Make Animations In Roblox Studio FULL TUTORIAL YouTube . How To Make Animations Play In Game ROBLOX STUDIO TUTORIAL YouTube

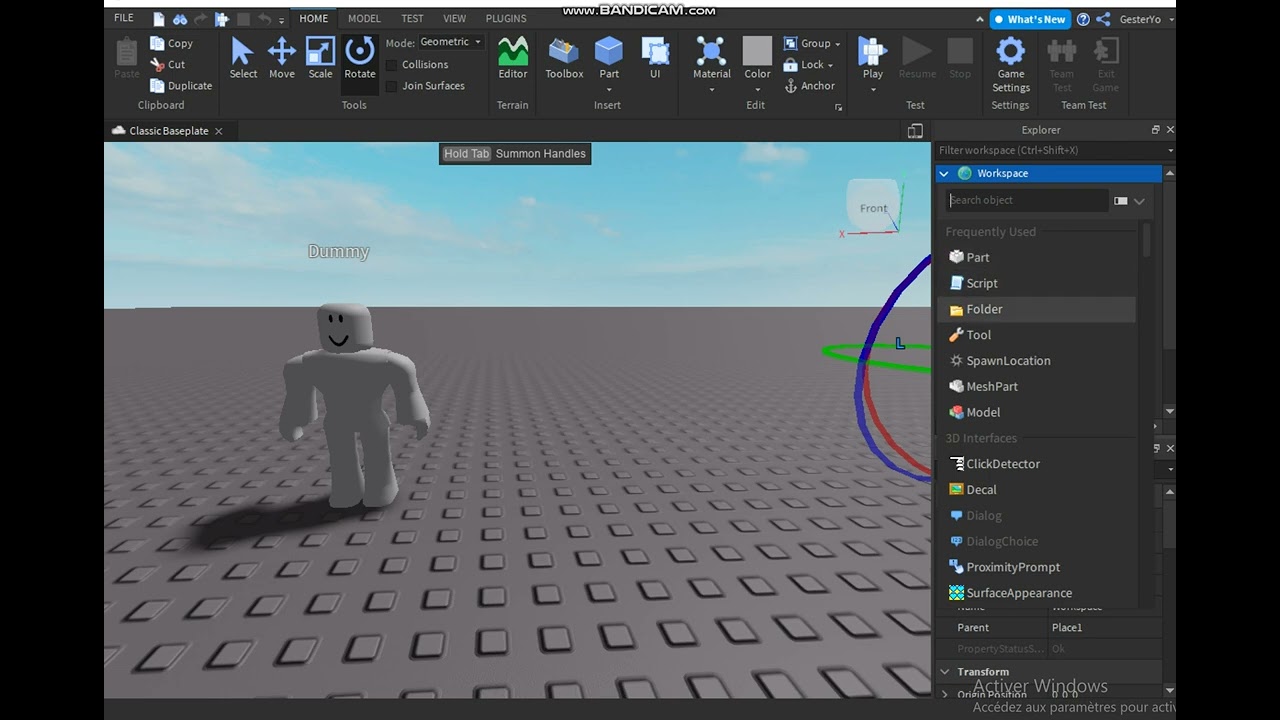


How To Use The Animation Editor In Roblox Studio YouTube . HOW TO MAKE ANIMATION IN ROBLOX STUDIO WITH KEYCODE YouTube . How To Animate In Roblox Studio MAKE CUTSCENES YouTube . How To Make Your Own Animation Roblox Studio At Darlene Whitely Blog . How To Make Animations In Roblox Studio For Beginners A Quick User 282 Cover
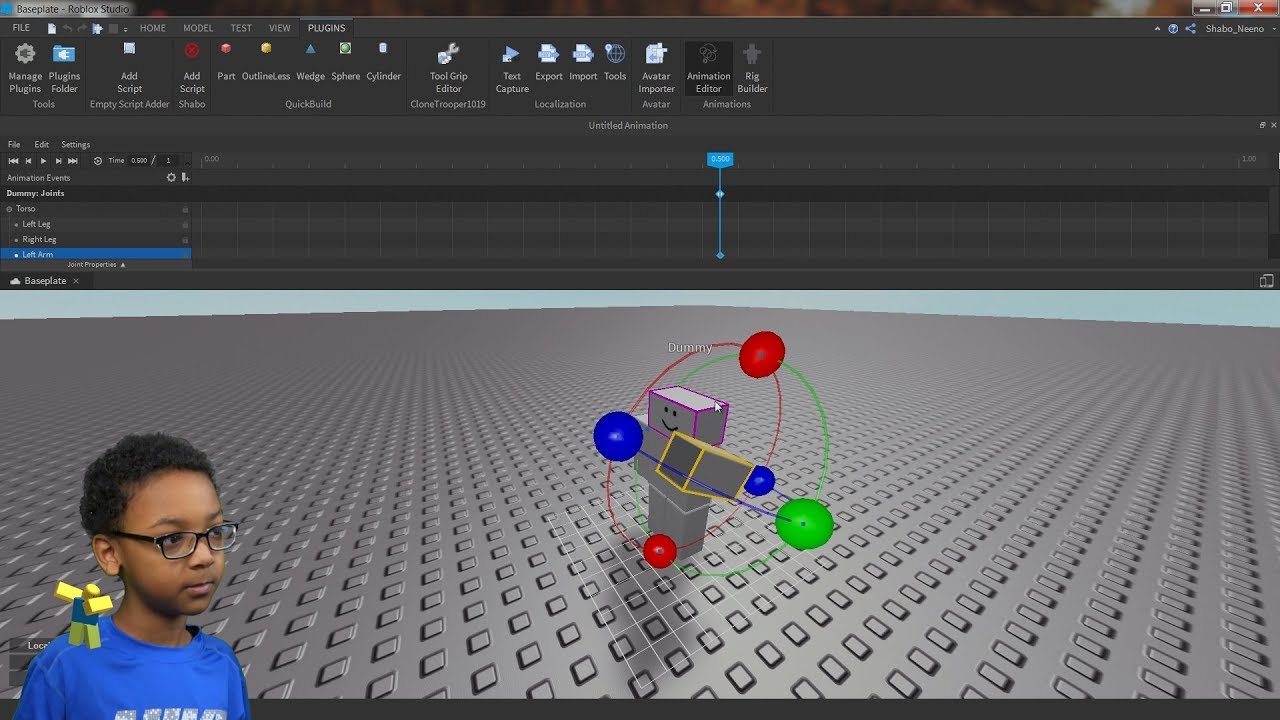


How To Change Animations In Roblox Studio YouTube . How To Make Your Own Animation Roblox Studio At Darlene Whitely Blog . Animating Two Rigs In Roblox Studio A Simple Guide . How To ANIMATE MODELS In Roblox Studio In 5 Minutes YouTube . How To Make Animations In Roblox Studio YouTube


How To ANIMATE In Roblox Studio 3D Print Custom Roblox Figure Toys Image 3 1536x960 . How To Put A Animation To Your Charecter In Roblox Studio 2024 YouTube . How To Publish An Animation In Roblox Roblox Studio Tutorial 2024 Hqdefault . How To Animate Faces In Roblox Studio Step By Step 2026 YouTube . Unlocking Roblox Animation Power With Moon Animator Up To Date 2026




How To Add Easing To Animations In Roblox Studio In 2026 Roblox Studio . How To Use Animations In Roblox Studio YouTube . Tutorial For Animation In Roblox Studio How To Make Roblox Studio . HOW TO ANIMATE IN ROBLOX STUDIO 2024 BEGINNERS GUIDE HACKHERTRIX BY . How To Make Your Own Animation Roblox Studio At Darlene Whitely Blog