Ever wondered how to bring your dream vehicle to life within the vast universe of Roblox? This comprehensive guide dives deep into how to make cars in Roblox Studio, offering practical, step-by-step advice for gamers who love to create. We understand balancing a passion for gaming with life's other demands can be tricky, so we focus on efficient, rewarding methods. Discover the fundamental tools, essential parts, and crucial scripting techniques needed to build fully functional, custom cars. From basic chassis construction to advanced performance tuning, we cover everything. Learn to overcome common building hurdles, optimize your creations for smooth gameplay across devices, and even share your unique designs with the vibrant Roblox community. Whether you're a seasoned builder or just starting, this resource is packed with navigational and informational insights to help you craft impressive vehicles, enhance your building skills, and elevate your Roblox experience without unnecessary hype, ensuring your time is well spent on enjoyable and productive creation. Let's get building!
Related games- Guide: Who Won The Roblox Hunt 2024 & How To Succeed
- Guide: What is KJ in Roblox? Uncover the Mystery!
How do I begin making a car in Roblox Studio for beginners?
For beginners, start by inserting basic 'Part' shapes in Roblox Studio: one for the chassis (the car's body) and four for the wheels. Position them logically and make sure the chassis is initially 'Anchored' in the Properties window to keep it stable. This foundation provides a clear canvas for you to build upon, allowing you to focus on structure before diving into complex mechanics.
What scripts are essential for a functional Roblox car?
A functional Roblox car requires a `VehicleSeat` (which captures player input) and a `Drive Script` placed within your car model. This script interprets the `VehicleSeat`'s signals and applies forces or torques, often through `Motor6Ds` or `HingeConstraints` connected to your wheels, to control movement, acceleration, and steering. Without these, your car won't respond to player commands.
How can I customize my Roblox car's look and feel?
Customizing your Roblox car involves changing part properties like color, material, and transparency. You can add decals for intricate graphics or use `Unions` to create unique shapes. Leverage the Creator Store for pre-made accessories like spoilers or headlights. Experiment with different combinations to give your vehicle a distinct appearance that truly reflects your creative vision.
What are the common challenges when scripting car physics in Roblox?
Common scripting challenges include parts detaching due to improper `Welding` or `WeldConstraints`, cars not moving because of incorrect `Anchoring`, or erratic behavior caused by faulty `Motor6D` setups. Debugging involves checking the Output window for errors, verifying all part connections, and carefully adjusting script parameters to achieve realistic and stable physics.
Where can I find free resources or tutorials for Roblox car building?
Excellent free resources include the official Roblox Creator Hub, which offers comprehensive documentation and tutorials. YouTube hosts countless video guides from community creators. Additionally, joining the Roblox Developer Forum and various Discord servers dedicated to Roblox development provides a platform to ask questions, share progress, and get community support.
How do I optimize my Roblox car for smooth performance on different devices?
To optimize for smooth performance across devices, aim to minimize the car's part count to reduce rendering load. Use efficient collision fidelity settings, simplify textures, and write clean, optimized scripts. Thoroughly test your car on various platforms, especially mobile, to ensure it runs without lag or frame rate drops, providing a consistent experience for all players.
Why is testing my Roblox car in-game crucial before publishing?
Testing your car in-game via 'Play Solo' or 'Test Server' is crucial because it allows you to evaluate its real-world performance under game conditions. You can identify handling issues, unexpected physics glitches, or script errors that might not be obvious in Studio. This ensures your final creation is stable, enjoyable, and delivers the intended driving experience for other players.
Are you one of the millions of US gamers who loves to dive into Roblox, eager to build something incredible, but find yourself short on time amidst work, family, and other commitments? You're not alone. Many of us, part of the 87% of US gamers who regularly play and average over 10 hours a week, want to create and share, especially on platforms like Roblox that thrive on user-generated content. Building a functional, stylish car in Roblox can seem daunting at first, a complex challenge involving multiple parts, welds, and intricate scripts. However, it's a deeply rewarding skill that unlocks endless creative possibilities in your own games and for the wider community.
This guide is designed for you: the adult gamer who appreciates clear, actionable advice, values efficiency, and wants to master new skills without wading through endless hype. We'll demystify the process of how to make cars in Roblox, breaking it down into manageable steps. Forget frustrating setups or performance issues; we'll show you how to build a car that not only looks great but drives smoothly and reliably. By the end, you'll have the confidence to design and implement your own custom vehicles, turning those limited gaming hours into productive, enjoyable creation time. Let's transform that spark of an idea into a fully functional Roblox ride!
How Do I Start Building a Car in Roblox Studio?
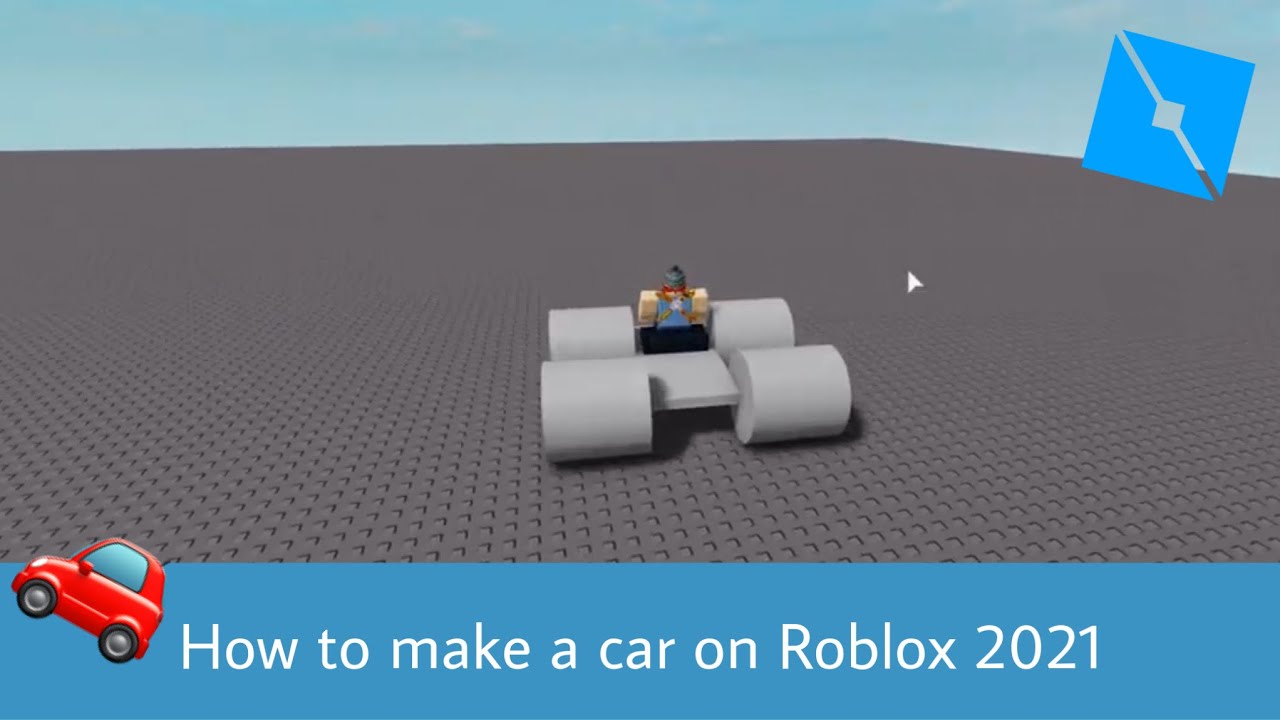
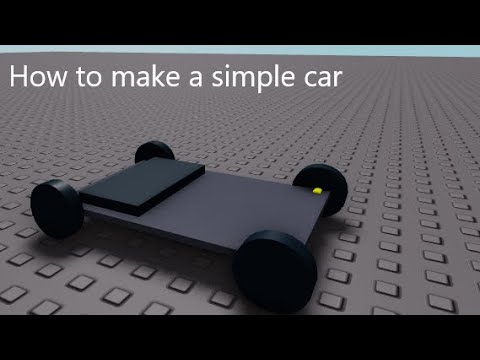
Getting started with your first Roblox car is simpler than you might think. The foundation of any vehicle is its chassis, which acts as the main body. Begin by opening Roblox Studio and inserting a 'Part' – typically a block or cylinder. This will be your car's base. Next, you'll want to add 'Wheels'. Roblox provides various types, but for beginners, simple cylindrical parts work well. Ensure your chassis part is anchored initially to prevent it from falling through the world as you build. This initial setup is crucial for stability and planning your car's overall design before delving into complex mechanics.
The key is to think modularly. Don't try to build everything at once. Focus on the chassis and then add the wheels, making sure they are positioned correctly. You can resize and reshape these parts using the 'Scale' and 'Move' tools in Roblox Studio. Remember, a solid base makes all subsequent steps, like scripting movement and adding details, much easier to manage. Many gamers find this methodical approach helps balance their creative ambitions with their available time, making the learning process less stressful.
What are the Essential Parts for a Functional Roblox Car?
To make a car driveable in Roblox, you need more than just a chassis and wheels. The core components include a **Chassis** (your main body part), **Wheels** (four cylindrical parts at least), and a **VehicleSeat**. The VehicleSeat is paramount as it's the component that allows a player to sit in and control the vehicle. Without it, your car is just a static model. You'll also need **WeldConstraints** or **Motor6Ds** to connect all these parts together properly, ensuring they move as a single unit rather than falling apart.
Beyond these, consider adding a **Script** to handle the actual driving mechanics, linking the VehicleSeat's input to the wheel's movement. For robust performance and easier management, it's often best to group all these parts into a 'Model' using the Model tab. This helps organize your workspace and makes it easier to manipulate the entire car. Thinking about these essential parts from the outset helps prevent common frustrations, especially for busy gamers who value efficient problem-solving.
How Do I Make My Roblox Car Move and Drive?
Making your car move involves a bit of scripting, but don't let that intimidate you. Roblox provides built-in tools and communities with ready-to-use scripts that simplify this process. The most common method involves a 'Drive Script' placed within the car's model. This script will interact with the **VehicleSeat** to detect player input (W, A, S, D keys) and apply force or torque to the wheels, making the car accelerate, steer, and brake.
Many beginners start with a basic car kit from the Roblox Toolbox or the Developer Hub. These kits often include a pre-made script that you can study and adapt. The script typically uses properties of the VehicleSeat (like `Throttle` and `Steer`) to control **HingeConstraints** or **Motor6Ds** connected to your wheels. Understanding how these components interact is key. For example, a common approach is to use `AlignPosition` and `AlignOrientation` forces, along with `AngularVelocity` for steering. Regularly testing your car in 'Play Solo' mode in Studio is crucial to fine-tune its handling and identify any scripting errors early on.
Can I Customize My Roblox Car's Appearance and Features?
Absolutely! Customization is where your Roblox car truly comes to life and expresses your creativity. You can change the **materials** (e.g., plastic, metal, wood, neon) and **colors** of any part using the 'Properties' window. Experiment with **textures** and **decals** to add intricate details like racing stripes, logos, or realistic grime. The Roblox Creator Store (formerly known as the Toolbox) also offers a vast array of pre-made accessories like spoilers, headlights, exhaust pipes, and unique body kits that you can easily integrate into your design.
For a more advanced touch, consider using **Unions** or **Meshes** to create custom shapes that go beyond the basic Roblox parts. This allows for smoother curves and more intricate designs, giving your car a professional, polished look. Remember, the goal is to make a car that you'll enjoy driving and showing off. Personalizing your vehicle is a great way to relieve stress and express yourself, fitting perfectly into that relaxation aspect many adult gamers seek from their hobbies.
What Are Common Scripting Issues for Roblox Cars and How Can I Fix Them?
Even experienced builders encounter scripting issues with Roblox cars. One of the most common problems is incorrect **welding** or **anchoring**. If parts aren't properly welded using `WeldConstraints` or `Motor6Ds`, they'll fall apart or behave unexpectedly. Always double-check that all car components, especially wheels to the chassis, are properly constrained. Another frequent issue is the car not moving or moving erratically; this often points to errors in the `Drive Script`, such as incorrect variable references or improper force application.
Debugging tools in Roblox Studio, like the 'Output' window, are your best friend. They'll display errors, helping you pinpoint exactly where a script is failing. Leveraging the Roblox Developer Forum and communities like Discord is invaluable; chances are, someone else has faced and solved the exact issue you're encountering. Many successful creators optimize their workflows by learning common pitfalls and having go-to solutions, saving precious gaming time. Focus on understanding the core logic rather than just copying scripts blindly.
How Can I Test and Refine My Roblox Car Design for Optimal Performance?
Thorough testing is non-negotiable for a high-performing Roblox car. After initial construction and scripting, always use 'Play Solo' or 'Test Server' modes in Roblox Studio to drive your car. Pay close attention to its **handling**, **speed**, **acceleration**, and **braking**. Does it flip easily? Does it struggle on inclines? Is the steering too sensitive or not responsive enough?
Refinement involves adjusting various parameters. For physics-based cars, tweak properties like `Density` and `Friction` of parts. In your script, experiment with force multipliers for `Throttle` and `Steer`. Consider the **part count** of your car; high part counts can lead to performance issues, especially on mobile devices, which are a dominant platform for many Roblox players. Aim for a balanced design that looks good and runs efficiently. Performance optimization ensures a smooth, enjoyable experience for anyone who drives your creation, making it a valuable addition to your portfolio and the community.
Are There Free Resources to Learn Roblox Car Building and Scripting?
Absolutely, the Roblox community and official resources are a treasure trove for aspiring car builders. The **Roblox Creator Hub** (formerly Developer Hub) is your go-to for official documentation, tutorials, and API references. It covers everything from basic part manipulation to advanced scripting concepts. On YouTube, countless creators offer free, step-by-step video tutorials for car building, often showcasing specific techniques or unique designs. Channels dedicated to Roblox development can be incredibly helpful for visual learners.
Furthermore, joining **Roblox developer communities on Discord** and the official **Roblox Developer Forum** connects you with experienced builders and scripters. These platforms are excellent for asking questions, sharing your progress, and getting feedback. Many members are happy to share insights and even custom scripts. Leveraging these free resources allows you to learn at your own pace and without financial investment, making skill-building accessible to everyone, including those balancing budgets and family life.
How Do I Share My Roblox Car Creations with the Community?
Once you've poured your creativity and effort into building an awesome Roblox car, sharing it is the next exciting step! The easiest way is to upload your finished car model to the **Roblox Creator Store** (formerly Toolbox). To do this, simply right-click your car's model in the Explorer window and select 'Save to Roblox'. You'll be prompted to give it a name, description, and assign categories. Make sure to set it as 'Public' if you want others to use it.
You can also incorporate your car into your own Roblox game, allowing players to drive it there. If you're building as part of a team or for a specific project, you might share the `.rbxl` file directly. Sharing your work not only provides satisfaction but also contributes to the rich, user-generated content ecosystem of Roblox. It's a fantastic way to connect with other gamers, get feedback, and even inspire new creators, fostering the social play that 2026 gaming trends emphasize.
Building cars in Roblox is more than just stacking parts; it's an opportunity to learn fundamental game development principles, express your creativity, and contribute to a massive global community. We've covered the essentials, from basic construction and crucial scripting to customization and performance optimization. Remember, the journey of creation is just as rewarding as the final product. Embrace the learning process, experiment, and don't be afraid to ask for help from the thriving Roblox community. Your next amazing ride is just a few clicks away!
What's your biggest gaming challenge when it comes to creating in Roblox? Comment below and let's find solutions together!
FAQ Section
Can beginners truly build functional cars in Roblox Studio?
Yes, absolutely! Roblox Studio offers user-friendly tools and a wealth of tutorials that break down the car-building process into manageable steps, making it accessible even for those with no prior scripting experience.
What's the difference between WeldConstraint and Motor6D for car parts?
WeldConstraints rigidly join parts together without allowing movement between them. Motor6Ds also join parts but can be scripted to allow rotational movement, which is essential for making wheels spin or steer effectively.
How can I ensure my Roblox car runs smoothly on mobile devices?
To optimize for mobile, minimize your car's part count, use efficient textures, and simplify scripts where possible. High polygon counts and complex physics interactions can strain mobile performance.
Is it better to script my own car or use a free model from the Toolbox?
For learning, starting with a free model from the Toolbox can be a great way to dissect existing scripts and see how a functional car is put together. However, scripting your own offers deeper understanding and full customization.
What are 'HingeConstraints' and how are they used in Roblox cars?
HingeConstraints allow two parts to rotate around a single axis, similar to a real-world hinge. In car building, they are often used to connect wheels to the chassis, allowing them to spin freely while staying attached.
How important is collision fidelity for car parts?
Collision fidelity impacts how accurately a part's collision mesh matches its visual mesh. For cars, setting appropriate collision fidelity (e.g., 'Box' for simple parts, 'Hull' or 'Default' for complex) can improve performance and realistic interactions.
FAQ
How do I begin making a car in Roblox Studio for beginners?
To begin, open Roblox Studio and insert basic 'Part' shapes for your chassis and four wheels. Position them appropriately, ensuring the chassis is anchored initially. This establishes your car's fundamental structure before you add complex mechanics or scripting, providing a solid, organized starting point for your creative build process.
What scripts are essential for a functional Roblox car?
For a functional Roblox car, you primarily need a `VehicleSeat` (which has built-in scripting for player input) and often a custom `Drive Script` within the car model. This script leverages the VehicleSeat's properties and connects to constraints like `Motor6Ds` or `HingeConstraints` on your wheels to translate player input into actual movement and steering.
How can I customize my Roblox car's look and feel?
You can extensively customize your Roblox car using the 'Properties' window to change colors, materials, and textures for individual parts. Apply decals for graphics, or import custom meshes and unions for unique body shapes. The Creator Store also offers a wealth of accessories like spoilers and lights to personalize your vehicle further, making it uniquely yours.
What are the common challenges when scripting car physics in Roblox?
Common challenges include improper `Welds` (causing parts to detach), incorrect `Anchoring` (preventing movement), and issues with `Motor6D` or `HingeConstraint` setup. Debugging often involves checking the 'Output' window for errors, verifying part connections, and adjusting script parameters like force application or torque values for smoother vehicle physics.
Where can I find free resources or tutorials for Roblox car building?
Excellent free resources include the official Roblox Creator Hub for documentation and guides, YouTube channels with step-by-step video tutorials, and community platforms like the Roblox Developer Forum and Discord servers. These provide valuable learning materials, script examples, and direct support from experienced builders and scripters.
How do I optimize my Roblox car for smooth performance on different devices?
Optimize your Roblox car by keeping the part count as low as possible without sacrificing design. Utilize efficient collision fidelity settings, avoid overly complex textures, and ensure your scripts are well-written and don't create unnecessary overhead. Testing on various devices helps identify and address any performance bottlenecks effectively.
Why is testing my Roblox car in-game crucial before publishing?
Testing your Roblox car in-game using 'Play Solo' or 'Test Server' is crucial to identify bugs, refine handling, and ensure a smooth player experience. It allows you to catch issues like incorrect physics, poor steering, or unintended glitches that might not be apparent in Studio, ensuring your creation is polished and enjoyable for others.
Roblox car building basics, scripting vehicle movement, customizing car appearance, testing and refining car designs, essential Roblox Studio tools, optimizing car performance, leveraging community resources
35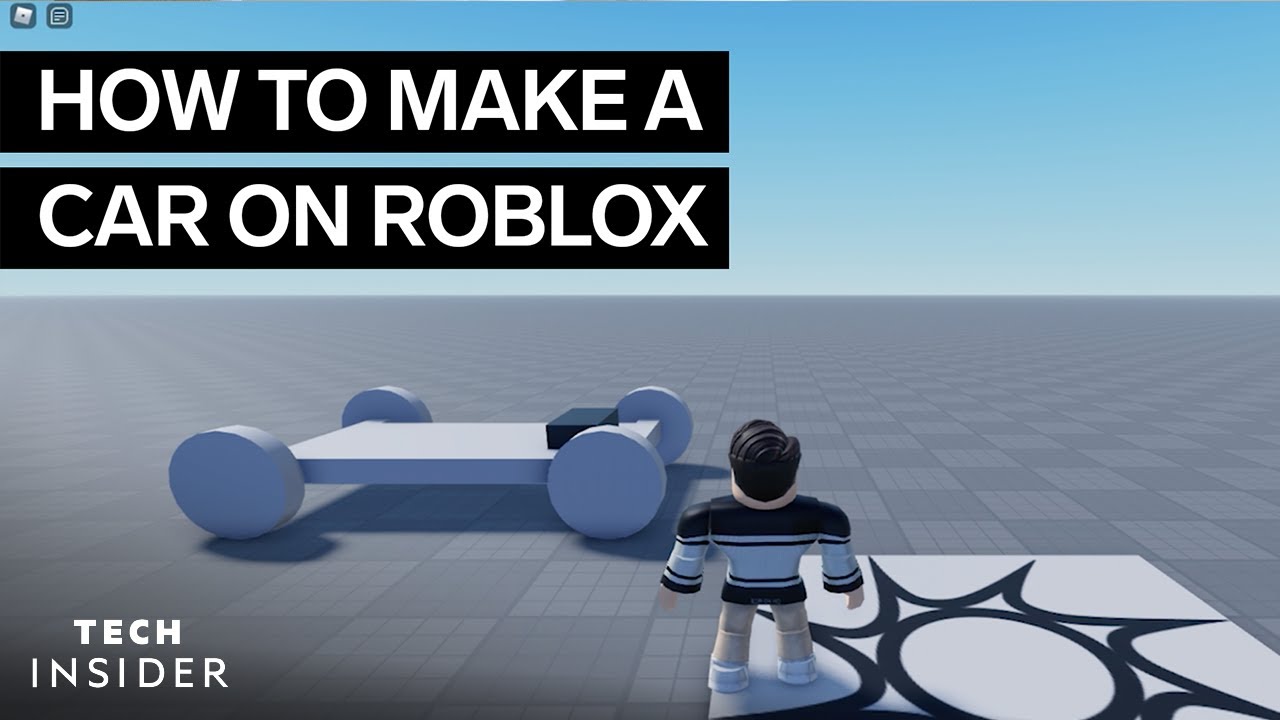


How To Make A Car In Roblox YouTube . How To Make A Car In Roblox Studio ULTIMATE GUIDE NO Yapping . How To Build A Car In Roblox Studio YouTube . How To Build The Car In A Long Road Roblox YouTube . How To Make A Car In Roblox Studio Simple Chassis Tutorial YouTube


How To Make A Car In Roblox Studio 2022 H Ng D N T O Xe N Gi N V . How To Build A Car In Roblox 2021 YouTube . 2026 How To Make A Restricted Area For Cars In Roblox Studio YouTube Hqdefault . How To Make A Car In Roblox Studio PART 1 YouTube . How To Make A Car In Roblox Studio ROBLOX STUDIO YouTube


HOW TO MAKE A CAR EASILY IN ROBLOX STUDIO CAR CHASSIS YouTube . How To Make Drivable Cars In Roblox Studio Easiest Method 2020 ROBLOX . How To Build Vehicles In Roblox Studio 8 Steps . How To Make A Car In Roblox Studio YouTube . How To Make Your Own Car In Roblox Studio V Film Studio Tutorials


How To Make A Car In Roblox Studio YouTube . How To Make A Vehicle In Roblox Tutorial YouTube . How To Make A Car In Roblox Studio A Chassis YouTube . How To Make A Basic Roblox Car Ep4 Of Roblox Studio Tutorials YouTube . How To Make A Car On ROBLOX STUDIO YouTube Hqdefault


How To Make A Simple Car In Roblox Studio YouTube . How To Make A Realistic Car In Roblox Studio Speed Build Part 2 . Roblox Studio How To Build A Basic Car Ep 1 YouTube . Roblox Build A Car Codes March 2026 1 New Codes Available Roblox Build A Car Codes 1024x576 . How To Build Your Own Car In Roblox Studio YouTube


How To Make A Simple Car In Roblox Studio YouTube Hqdefault . ROBLOX How To Make A Simple Car ROBLOX Tutorial August 2009 YouTube . Roblox Build A Car Codes March 2026 10 New Active Codes Roblox Build A Car Code . How To A Chassis A CAR In Roblox Studio Make Your Car Drive YouTube . How To Make A Car In Roblox Studio Part1 YouTube


How To Make A Car In Roblox Studio Roblox Studio YouTube . How To Make Your Own Car In Roblox Studio YouTube . Make A Car Codes June 2026 Try Hard Guides Roblox Make A Car Avatar Wearing Silver Helmet And Claw Arm Standing In Front Of Three Cars Two Rusted And One Green Sports Car 781x439 . How To Make A Car In Roblox Studio YouTube . How To Build A Simple Car Roblox Studio YouTube