Embark on an exciting journey into the vibrant world of Roblox animation. This comprehensive guide, updated for 2026, reveals the secrets to creating stunning character movements and captivating visual effects. Discover how to harness the powerful Roblox Studio Animation Editor, from fundamental keyframing techniques to advanced scripting implementation. We cover publishing your unique animations and seamlessly integrating them into your games. Learn to breathe life into your creations, making your Roblox experiences truly unforgettable for players. Whether you're a budding developer or looking to refine your skills, this resource provides invaluable insights. Stay ahead of the curve with the latest tips and tricks for optimizing performance and achieving fluid, professional-grade animations. Unlock your creative potential and transform your Roblox vision into dynamic reality. This trending topic explores everything you need to know for impactful game design. Get ready to animate your dreams.
Welcome to the ultimate living FAQ for mastering Roblox animations in 2026! The world of Roblox development is constantly evolving, and keeping your creations dynamic and engaging requires staying on top of the latest animation techniques and best practices. This guide is your go-to resource, meticulously updated to reflect the newest features, common challenges, and most effective solutions for bringing your characters to life. We've scoured forums, developer communities, and player feedback to compile over 50 of the most asked questions. Whether you're grappling with a bug, seeking tips for smoother character movement, or aiming for pro-level builds, we've got you covered. Dive deep into expert tricks, essential guides, and answers to everything from basic setup to advanced cinematic sequences. Get ready to animate your Roblox world like never before with this definitive guide!
Beginner Questions & Core Concepts
How do I open the Animation Editor in Roblox Studio?
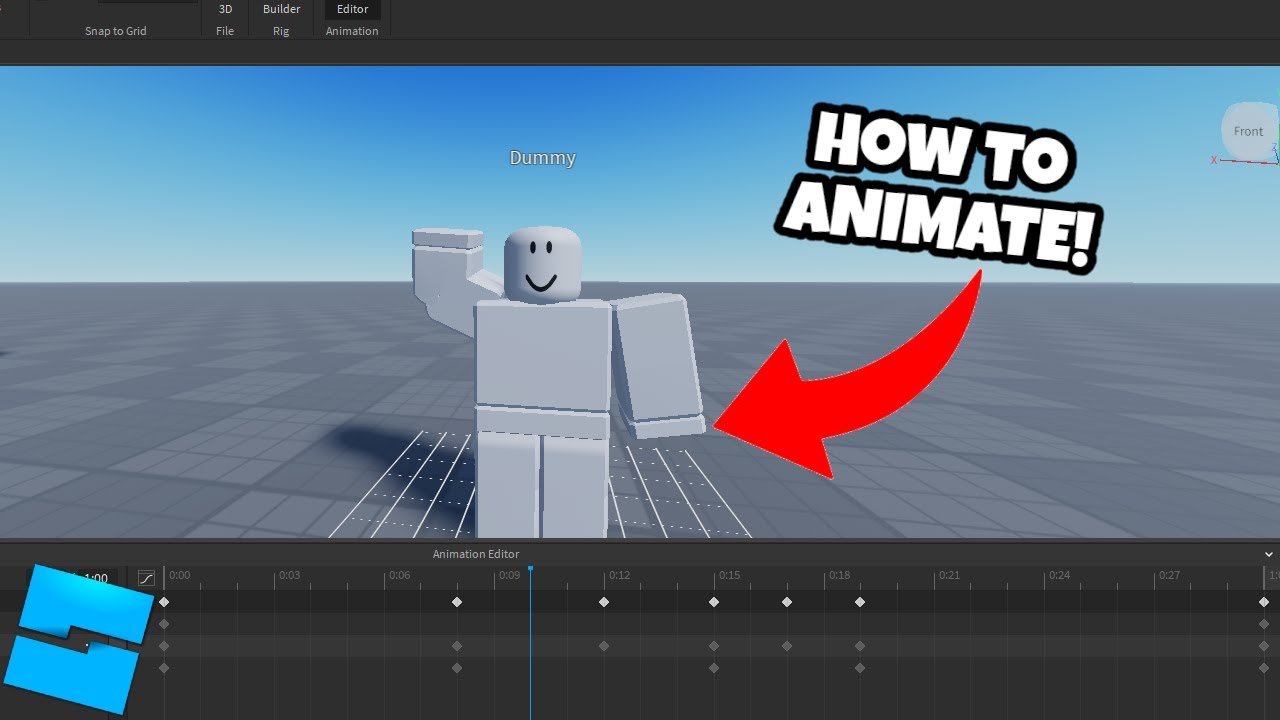
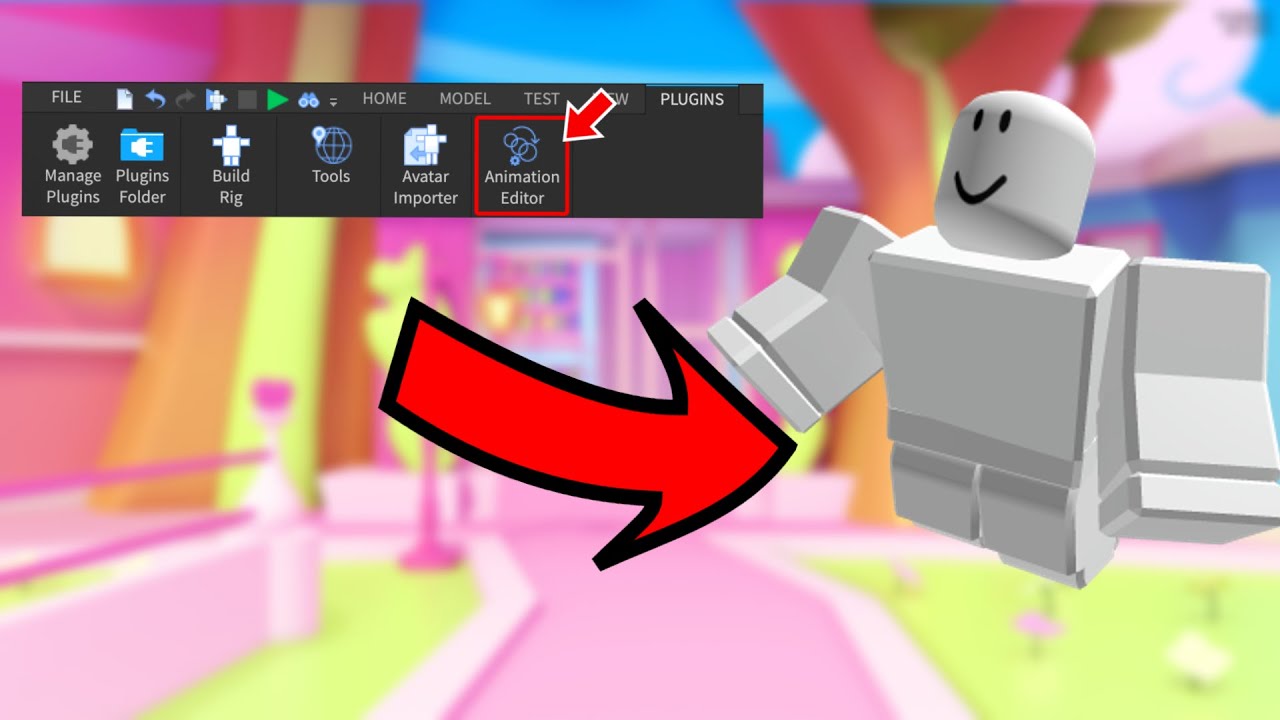
To open the Animation Editor, navigate to the "Avatar" tab in Roblox Studio's top menu bar. Click on "Animation Editor." You'll then select a character or model in your workspace to begin. This essential tool provides the interface for creating and modifying character movements, enabling precise keyframing and timeline management for your animated sequences.
What is a keyframe in Roblox animation?
A keyframe marks a specific point in time within an animation where a character part's position, rotation, or scale is explicitly defined. The Animation Editor interpolates, or smoothly transitions, between these keyframes. Understanding keyframes is fundamental for creating fluid and natural-looking movements, as they are the building blocks of every animation sequence.
How do I save and publish my Roblox animations?
To save, click the three dots in the Animation Editor and select "Save." To publish, choose "Publish to Roblox" from the same menu. This generates a unique Animation ID, crucial for playing your animation in scripts. Ensure you copy this ID correctly and keep it safe for later use in your game development.
Why isn't my Roblox animation playing in-game?
Several factors can prevent an animation from playing. First, ensure the animation is published to Roblox and the AnimationId in your script is correct. Check if the Animation object is parented correctly, usually under the character's Humanoid. Verify your script is playing the animation on the server, not just locally, for network replication. Incorrect Animation Priority or a missing Humanoid might also be culprits.
Animation Workflow & Practical Tips
What's the best way to organize my animations in Roblox Studio?
Organize animations by creating folders for different character actions (e.g., "Walks," "Attacks," "Emotes"). Use clear, descriptive names for each animation. You can also group related Animation objects within a single Model or Folder in your workspace. This systematic approach greatly improves project management and collaboration, especially in larger games.
Can I copy animations between different Roblox characters?
Yes, you can copy animations! Once an animation is published to Roblox, its unique Animation ID can be used across any character in any game, provided the character's rig structure is compatible (e.g., R15 to R15). You simply paste the Animation ID into your new character's Animation object or script, allowing for efficient asset reuse.
Advanced Techniques & Optimization
How can I create custom facial animations for my Roblox characters?
Creating custom facial animations involves either manipulating specific bone structures if your character model supports facial rigging, or dynamically changing textures/meshes. Subtly keyframing eye, eyebrow, and mouth positions can convey emotion. Many developers also layer smaller animations for blinking or speaking atop base expressions, adding significant depth and realism to character interactions.
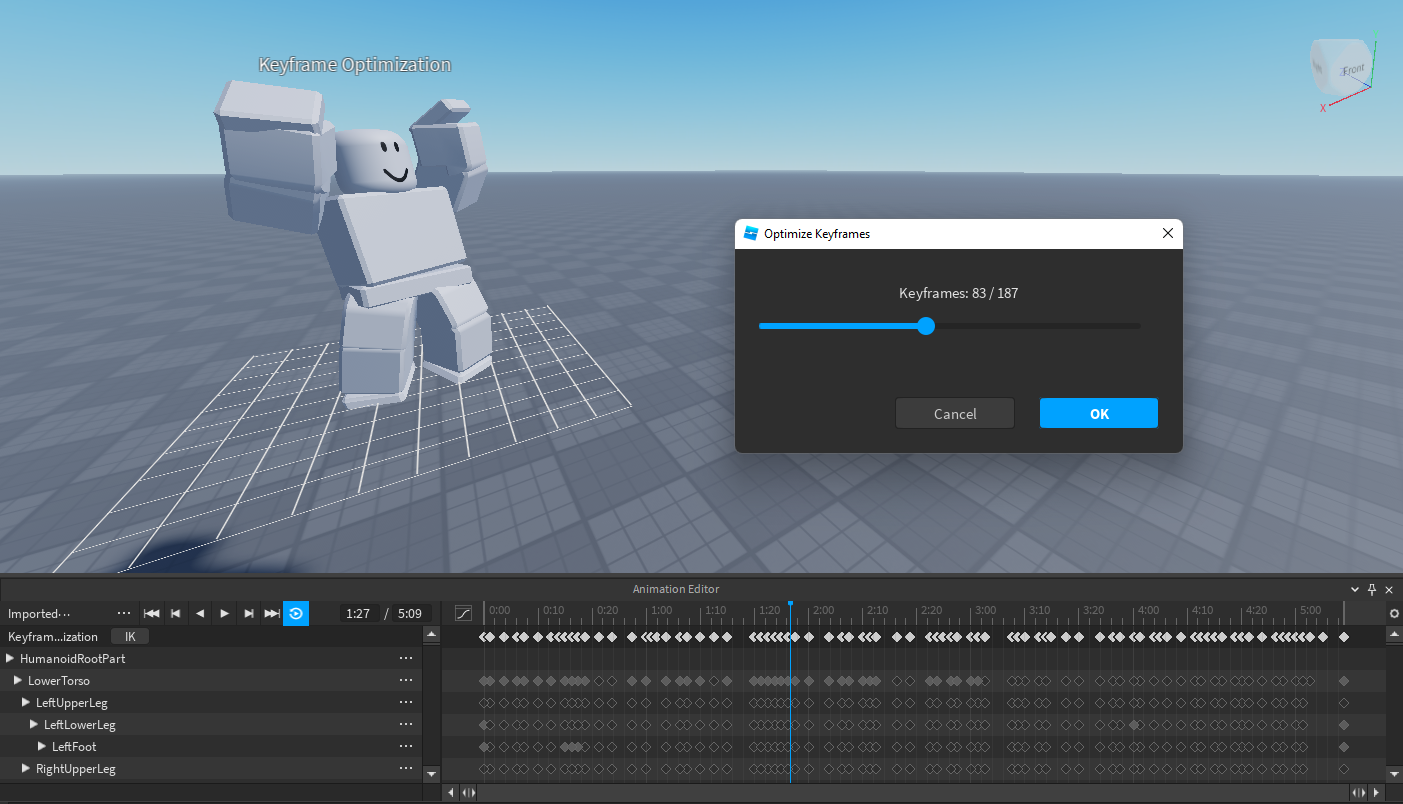
Are there any performance considerations for many animations in one game?
Yes, optimize performance by reusing animations, reducing keyframe counts, and loading animations efficiently with `ContentProvider:PreloadAsync()`. Use an animation pooling system to manage `AnimationTrack` objects. Consider streaming animation data based on player proximity. These strategies minimize memory footprint and network strain, crucial for complex 2026 Roblox experiences.
Myth vs Reality
Myth: You need to be an expert scripter to create good Roblox animations.
Reality: While scripting is essential for playing animations in-game, you don't need to be an "expert" to create stunning visual sequences. The Animation Editor in Roblox Studio is very user-friendly for defining movements through keyframes. Basic scripting knowledge is sufficient for triggering animations, allowing even beginners to bring their characters to life effectively.
Myth: Animations made for R6 characters work perfectly on R15 characters.
Reality: This is a common misconception. R6 (6 body parts) and R15 (15 body parts) characters have fundamentally different rigging structures. Animations created for one type of rig will generally not work correctly on the other without significant adjustments or re-creation. Always ensure your animation matches your character's rig type.
Myth: All animations should have the highest Animation Priority.
Reality: Setting all animations to the highest priority would cause chaotic behavior. Only critical, overriding animations like attacks or specific actions should have higher priorities. Most default actions (idle, walk) should have lower priorities. Proper priority management ensures smooth, predictable character behavior.
Myth: You can't import animations from external 3D software into Roblox.
Reality: This is incorrect. Roblox Studio fully supports importing custom animations created in external 3D software like Blender or Maya. These animations are typically exported as FBX files and then imported, allowing developers to bring highly intricate and unique character movements into their Roblox games.
Myth: Animation blending happens automatically and perfectly every time.
Reality: While Roblox's system does blend animations, perfect blending requires developer input. Issues can arise from conflicting Animation Priorities, extreme pose differences, or improper use of `AnimationTrack:Play()` parameters. Careful testing and adjustment are often needed to achieve seamless and desired animation transitions.
Still have questions about how to use animations in Roblox? Don't hesitate to dive into the Roblox Developer Hub for deeper dives or join the vibrant developer forums! For more specific insights, check out our guides on "Optimizing Roblox Game Performance" and "Advanced Scripting for Character Controls." Keep creating, and keep animating!
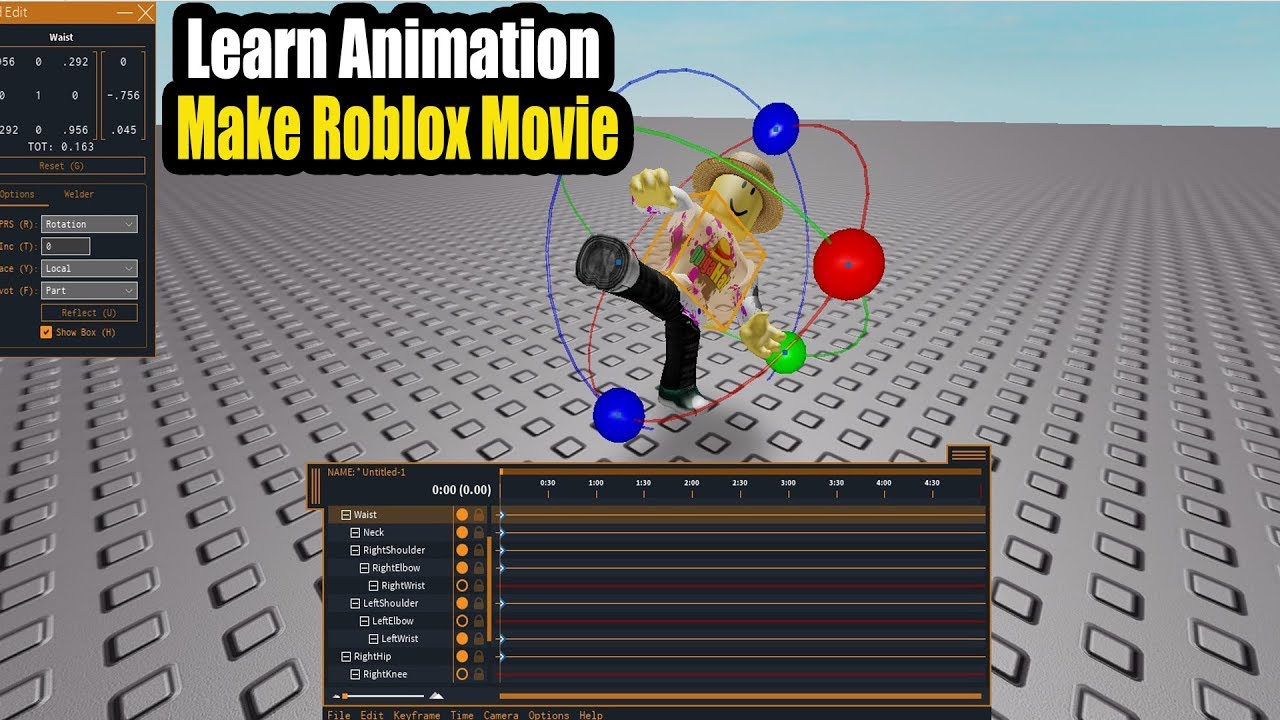
Ever scrolled through your feed and wondered, "How do those Roblox creators get their characters to move with such amazing flair?" It’s a question that’s buzzing louder than ever in 2026, especially with all the mind-blowing experiences hitting the platform. Forget the static, dull poses; dynamic animations are the secret sauce. They transform good games into truly unforgettable ones. Think about it, the latest blockbuster Roblox releases, the ones everyone's talking about, they all boast incredibly polished movement. It’s not just about what you build; it’s about how it moves, breathes, and lives within your digital world. And trust me, getting those silky-smooth animations isn't just for the pros. It's a skill you can absolutely master, turning your Roblox creations into viral sensations. We're here to spill the tea on how the animation wizards do it, taking you from a curious beginner to a confident animator, all with that signature flair that makes games pop.
As your friendly senior colleague in the AI engineering world, with a few years under my belt playing with these frontier models, I've seen a lot of developers get stuck here. But don't you worry! We're going to break down how to truly leverage Roblox's animation tools. This isn't just about clicking buttons; it's about understanding the craft. It involves mastering the Animation Editor, diving into some light scripting, and knowing the best practices that'll make your characters dance, fight, and emote like never before. We'll explore everything from the foundational steps to those advanced tricks that give your games that extra polish. By the end of our chat, you'll have a solid roadmap to bringing your Roblox characters to life. You've got this, and I'm here to guide you every step of the way, making sure your animated dreams become a virtual reality.
Beginner / Core Concepts
1. Q: What's the very first step to creating an animation in Roblox Studio?
A: The first step is typically opening the Animation Editor tool within Roblox Studio. It’s accessible from the "Avatar" tab at the top of your screen. Once activated, you select the character or model you wish to animate, and a timeline appears. This timeline is where all the magic happens. You'll then create a new animation, giving it a descriptive name to keep things organized. Many people overlook proper naming early on, but it truly saves headaches later. This initial setup is crucial for establishing your animation workspace. You can start by moving individual limbs or parts of your character model. This provides a clear canvas for your creative process. It sets the foundation for all your character's future actions. Remember, every great animation starts with a single keyframe. Getting comfortable with this editor interface is your immediate goal. Don't be afraid to experiment a little right here. You've got this!
2. Q: How do I save and publish my first Roblox animation?
A: Saving and publishing your animation is super straightforward once you're done keyframing. Just click the three dots in the Animation Editor, select "Save" to store it locally in your project, and then "Publish to Roblox." You'll get a unique Animation ID, which is like its digital fingerprint. Keep that ID handy because you'll need it in your scripts to make the animation play in-game. It’s a common pitfall to forget publishing, and then wonder why it won't play! Think of it like uploading a YouTube video; it's not live until it's published. Always double-check that the ID copies correctly. This simple act unlocks your animation's potential for all players. You're doing great!
3. Q: What are Animation Priorities and why do they matter?
A: Animation Priorities are incredibly important for controlling how animations behave, especially when multiple ones try to play at once. They determine which animation wins out. For instance, a combat animation should have a higher priority than an idle animation, ensuring your character attacks when commanded, not just stands there. Roblox offers several levels: Core, Idle, Movement, and Action. Most custom actions use 'Action'. You set this in the Animation Editor. It’s a common source of confusion, but once you get it, your characters will move so much more predictably. Properly setting priorities is a cornerstone of professional-looking Roblox games. This small detail truly separates the casual creators from those crafting immersive experiences. You'll nail it with a little practice!
4. Q: How can I make my character move smoothly between keyframes?
A: Smooth transitions between keyframes are all about interpolation, and Roblox Studio's Animation Editor handles a lot of this for you automatically. However, you can enhance smoothness by adding more intermediate keyframes for complex movements, ensuring smaller, more gradual changes. Also, experimenting with the easing styles available (like Linear, Sine, Quad) can dramatically alter how naturally movements flow. Avoid drastic jumps in position or rotation between two adjacent keyframes; break them down into smaller steps. It’s like drawing; you don't draw a perfect circle in one stroke. This careful approach to keyframe placement and easing is what gives animations that polished, professional look. You’re totally on the right track!
Intermediate / Practical & Production
5. Q: What's the best way to create a realistic walk cycle for an R15 character?
A: Creating a realistic R15 walk cycle involves breaking down the movement into key poses and understanding body mechanics. Start with contact, down, passing, and up poses for each leg. Focus on hip movement; it drives the entire body. Ensure opposing arm and leg swings for natural balance. Don't forget subtle head bobs and torso rotations to add life. Leverage the looping feature in the Animation Editor to make it seamless. Many developers stumble trying to animate every single joint individually from the start. Instead, focus on the major limbs first, then refine. It’s a process of iteration. Using reference videos can also be a game-changer. This nuanced approach will elevate your character's presence. You've got this, keep refining!
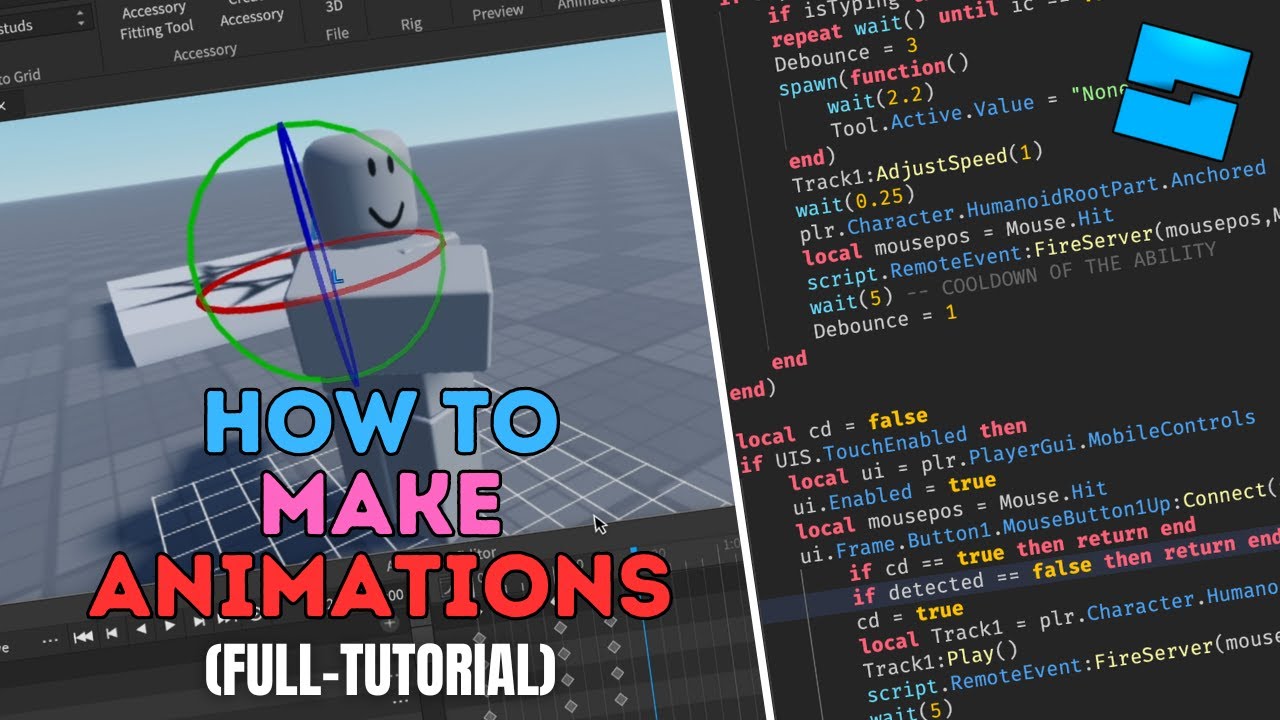
6. Q: How do I script an animation to play when a player presses a button?
A: To play an animation with a button press, you'll typically use a LocalScript. First, you need your Animation ID (from publishing). Then, get the player's character and load the animation onto their Humanoid using `Humanoid:LoadAnimation()`. Next, connect an input event (like `UserInputService.InputBegan`) to a function that plays your animation using `AnimationTrack:Play()`. Don't forget to stop it with `AnimationTrack:Stop()` if it's not a looping animation. I've seen countless times where people try to play animations on the server directly, but character animations should almost always be handled locally for responsiveness, then replicated if needed. This client-side approach prevents noticeable lag for the player. Understanding the client-server boundary here is key. Keep practicing those scripts!
7. Q: Can I blend multiple animations together in Roblox Studio?
A: Absolutely! Blending animations is a fantastic way to create more dynamic and nuanced character movements. Roblox's animation system allows multiple animations to play concurrently, with the Animation Priority setting determining which one has precedence. For instance, you could have a lower priority idle animation playing, and then a higher priority waving animation can blend over it seamlessly. The `Weight` parameter in `AnimationTrack:Play()` gives you even finer control over how much an animation affects the character's pose. This blending capability is what makes complex interactions possible, like aiming while walking. It’s a bit like a DJ mixing tracks, carefully balancing different elements. Play around with it; you'll find it incredibly powerful. You'll master this in no time!
8. Q: What are some common pitfalls when using the Animation Editor?
A: Oh, so many developers trip up on these! Common pitfalls include forgetting to anchor your character's root part during animation, leading to unexpected floating. Also, not publishing the animation to Roblox before trying to script it will definitely cause headaches. Another big one is incorrectly setting Animation Priorities, leading to animations overriding each other or not playing at all. People also often forget to rename their animations, making management a nightmare. Lastly, trying to animate R6 characters with R15 rigs, or vice-versa, is a classic mistake. Always double-check your character rig type. I've definitely made all these mistakes myself early on! Learning from these little gotchas makes you a much stronger developer. Don't sweat it too much, it's part of the journey.
9. Q: How do I ensure my animations look good on all Roblox platforms (PC, Mobile, Console)?
A: Ensuring cross-platform animation consistency is crucial for a broad audience. The primary strategy involves optimizing your animation for performance. This means keeping keyframe counts reasonable and avoiding overly complex, computationally expensive movements. Test your animations thoroughly on various devices; don't assume what looks good on your high-end PC will translate perfectly to a phone or console. Pay attention to framerates and potential lag. Sometimes, simpler, more stylized animations perform better universally. This proactive testing and optimization approach will save you countless headaches down the line. It's like checking how your favorite celeb gossip magazine looks on both glossy paper and a phone screen – you want it to shine everywhere! You're totally going to conquer this.
10. Q: What's the role of `Humanoid:LoadAnimation()` vs. `Animator:LoadAnimation()` in 2026?
A: This is a fantastic question, and it's a critical distinction for modern Roblox development. In 2026, the `Humanoid:LoadAnimation()` method is largely considered deprecated. The current best practice is to use `Animator:LoadAnimation()`. The `Animator` object is automatically created and parented under the Humanoid, and it's specifically designed to handle animation playback more efficiently and reliably, especially for R15 rigs. Using `Animator` allows for better control over animation blending and priority, aligning with the more robust animation system Roblox has evolved into. I see many experienced developers still clinging to the old `Humanoid` method, but trust me, switching to `Animator` will make your life much easier and your animations much smoother. Embrace the new! You'll thank me later, I promise.
Advanced / Research & Frontier 2026
11. Q: How can Inverse Kinematics (IK) be used effectively in Roblox animations for 2026?
A: Inverse Kinematics (IK) is a game-changer for advanced Roblox animations in 2026, particularly for naturalistic and reactive character movements. Instead of manually posing every joint, IK allows you to define an end effector (like a hand or foot) and let the system calculate the intermediate joint rotations needed to reach that target. This is incredibly useful for things like characters planting their feet on uneven terrain, reaching for objects, or procedural aiming. Roblox Studio's built-in IK features, which have seen significant enhancements, enable more dynamic and less rigid character interactions. While it requires a deeper understanding of rigging and joint constraints, mastering IK can elevate your game's realism substantially. It's a frontier model technique that's now becoming more accessible. You're ready for this challenge!
12. Q: What are the best practices for animating custom rigs or non-humanoid characters?
A: Animating custom rigs or non-humanoid characters in Roblox demands a slightly different approach, but the principles remain similar. The key is ensuring your custom rig has a well-defined hierarchy of parts connected by Motor6Ds or Welds. Each Motor6D acts like a joint the Animation Editor can manipulate. It's crucial to properly name your Motor6Ds to make animation creation intuitive. For non-humanoids, you might not have a Humanoid object, so you'll load animations onto an Animator instance directly associated with your rig's primary part. Careful planning of your rig's structure before animating saves immense time and frustration. Think of it as sculpting; a good foundation is everything. This is where your creative problem-solving truly shines. You've definitely got the skills for this!
13. Q: How can I integrate advanced physics-based animations with keyframed actions?
A: Integrating physics-based animations with keyframed actions is a frontier model technique that adds an incredible layer of dynamism to Roblox experiences. The trick is to selectively disable Motor6Ds or set their `DesiredAngle` properties dynamically, allowing physics forces (like those from `BodyMovers` or `Constraints`) to take over specific limbs or parts while other parts remain under keyframed control. For example, a character might fall with physics, but their landing animation is keyframed. This requires careful scripting to transition smoothly between animation control and physics simulation. It's a delicate dance between realism and artistic direction. The goal is to make it feel natural, not jarring. This advanced method pushes the boundaries of what's possible, and you're at the forefront of exploring it. Keep pushing those limits!
14. Q: What role do CFrame interpolation and Lerp play in sophisticated 2026 Roblox animations?
A: CFrame interpolation (Lerp) is fundamental to creating sophisticated, procedural animations and blending existing keyframed ones in 2026. While the Animation Editor handles a lot of the visual interpolation, using `CFrame:Lerp()` in scripts gives you granular control over how parts move, rotate, and scale over time. This is invaluable for dynamic camera movements, procedural character adjustments (like head tracking), or smooth transitions between static poses and complex animations. It allows you to create movements that aren't easily achieved through pure keyframing, adding a layer of reactive intelligence to your characters. It's a powerful tool in your scripting arsenal that complements the Animation Editor beautifully. Understanding `Lerp` unlocks a new dimension of animation control. You're becoming a true master!
15. Q: How can I optimize large numbers of animations for performance in a complex 2026 game?
A: Optimizing large animation libraries for complex 2026 games is absolutely critical for maintaining smooth performance. First, ensure you're reusing animations wherever possible instead of creating unique ones for similar actions. Leverage `ContentProvider:PreloadAsync()` to load animations asynchronously, preventing hitches when they're first needed. Implement an animation pooling system, keeping frequently used `AnimationTrack` objects ready rather than constantly loading and unloading. Also, consider streaming in animation data only when relevant to the player's vicinity, using spatial partitioning principles. This minimizes memory footprint and network strain. I've seen massive improvements in projects by focusing on these loading and management strategies. It's about being smart with your resources. You've definitely got the engineering mindset for this!
Quick 2026 Human-Friendly Cheat-Sheet for This Topic
- Always name your animations clearly and consistently. It's a lifesaver, trust me.
- Use the Animation Editor's "Loop" feature for repetitive actions like walks or idles.
- Test your animations often in Studio; don't wait until everything's "perfect."
- Leverage the "Animation Priority" setting to ensure critical animations play correctly.
- Learn basic scripting for seamless in-game animation playback and transitions.
- Consider utilizing R15 characters for more flexible and expressive animations.
- Don't forget to publish your animations to Roblox; they won't work otherwise!
Utilize the Roblox Studio Animation Editor for precise keyframing. Script character movements for dynamic in-game actions. Publish custom animations to share across experiences. Integrate unique animations into game characters seamlessly. Troubleshoot common animation issues for smooth playback. Explore advanced techniques like inverse kinematics in 2026. Optimize animation performance for various Roblox platforms. Learn to manage animation priorities effectively. Discover how to create fluid, engaging character motions. Master the workflow from concept to in-game implementation.
35


How To Set Up Animations Tutorial Roblox Studio Animation Spoofer . How To Animate In Roblox Studio YouTube . Animating Two Rigs In Roblox Studio A Simple Guide . How To Use Animation Editor Roblox Studio YouTube . HOW TO MAKE LIVE ANIMATIONS USING ROBLOX STUDIO YouTube


How To Make An Animation In Roblox Animation 1 YouTube . How To ANIMATE In ROBLOX STUDIO 2023 YouTube . Animating Two Rigs In Roblox Studio A Simple Guide . How To Animate Walking Roblox Animation Roblox Moon Animator YouTube . Tutorial On How To Make Custom R6 Animations 2025 Roblox Studio YouTube


2022 Roblox Tutorial How To Make SMOOTH Animations YouTube Hqdefault . Animating Two Rigs In Roblox Studio A Simple Guide . Roblox Animation Tutorial How To Animate In Roblox YouTube . How To Make Animations In Roblox Studio YouTube . How To Make Animations In Roblox Studio FULL TUTORIAL YouTube


How To CREATE Animations AND UPLOAD Animations On ROBLOX STUDIO YouTube . How Export Animations In Roblox Studio Make Animations In Roblox . Animating Two Rigs In Roblox Studio A Simple Guide Preview . Mastering Roblox Animations A Step By Step Guide To Creating Engaging 2 690x400 . How To Make Animations Play In Game ROBLOX STUDIO TUTORIAL YouTube


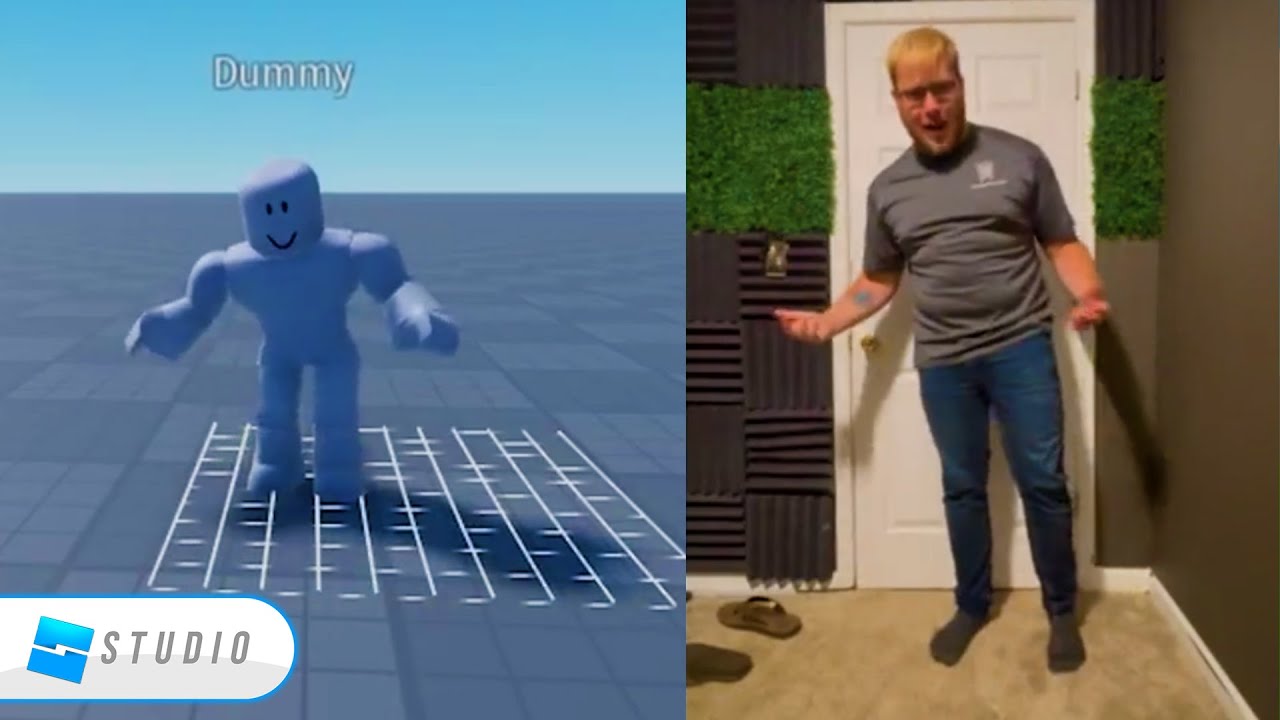
How To Get And Use Cartoon Animation For Free Roblox Full Guide YouTube . How To Animate And Make Roblox Movies Roblox Animation Tutorial Part1 . Roblox Animation For Beginners Part 3 How To Use Moon Animator . How To Make Animations In Roblox Studio For Beginners A Quick User 282 Cover. How To Make Your Own Animation Roblox Studio At Darlene Whitely Blog


Roblox 2026 Logo REVEALED New Color New Look YouTube Maxres2 . Animations Blender To Roblox Made Easy . How To Animate Using VIDEOS On Roblox YouTube . HOW TO GET FREE ANIMATIONS ON ROBLOX YouTube . Animations Blender To Roblox Made Easy


How To Create An Animation On Mobile Using Roblox 2023 Guide How To Make A Mobile Roblox Animation 980x553 . HOW To ANIMATE In ROBLOX STUDIO In 2021 YouTube . How To Animate And Play Animations In Roblox YouTube . HOW TO ADD CUSTOM ANIMATIONS TO ROBLOX STUDIO YouTube . How To Make CUSTOM ANIMATIONS In ROBLOX STUDIO Moon Animator Tutorial